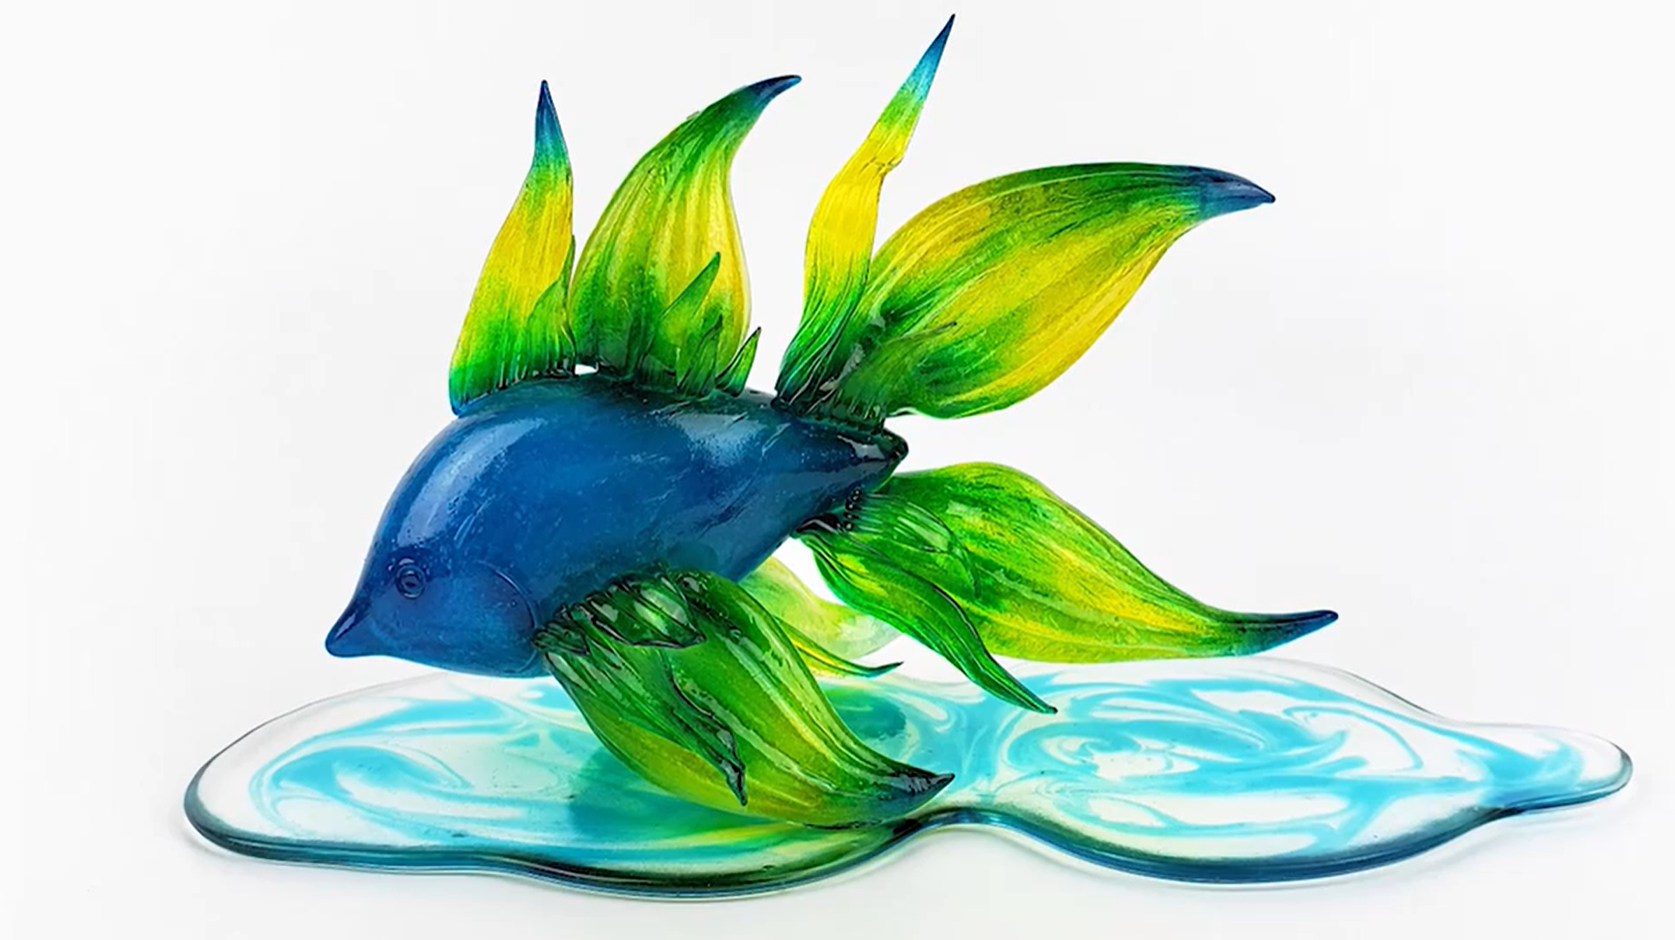
Isomalt is a versatile and transparent clear sugar substitute that offers a world of possibilities for cake decorating and candy making. It’s a popular choice for creating stunning sugar sculptures, intricate sugar flowers, and lollipops. However, working with isomalt requires a bit of practice and understanding. Here are some of our best tips how to use isomalt for cake decorations.
What Is Isomalt? Isomalt vs. Sugar
Isomalt is a sugar-free substitute derived from beet sugar. It is a by-product of beet sugar, meaning when beet sugar is extracted, isomalt is what is leftover! It's a popular choice in confectionery due to its clear/transparent appearance and heat resistance. Essentially, isomalt is a type of sugar-free hard candy.
Many decorators prefer isomalt because it is much more durable than boiled sugar. It allows for more flexibility and is a higher quality product that will last much longer than a traditional sugar decoration.
Isomalt is versatile medium that can be used in many ways like casting, pouring, pulling, sculpting, or blowing to make lollipops, hard candies, cake and cupcake toppers, ribbons and bows. Isomalt sugar art and isomalt candy making are techniques that can be valuable assets in your cake decorating repertoire.
Cooking Isomalt from Scratch vs. Using Pre-Tempered
There are two main ways to start working with isomalt, you can start working with raw isomalt and temper it yourself, or you can use pre-tempered isomalt and get it already cooked down.
Raw Isomalt, also known as powdered or crystal Isomalt, needs to be melted to a specific temperature that varies by manufacture. This tempering process stabilizes the isomalt, and without doing this step your isomalt will melt and break down. Isomalt needs to be tempered to a “hard crack” stage to work correctly. The exact tempering temperature will vary by manufacturer, so check first with whichever brand of isomalt you are using to ensure you have the right temperature. Even just a few degrees off can effect your isomalt, so you must be precise.
*Pro tip – when tempering your raw isomalt use only distilled water to prevent yellowing and impurities!
Once isomalt is pre-cooked, you won’t need to temper it again. You can keep leftover isomalt in this hard candy state and use it again, or purchase pre-tempered isomalt for convenience. Purchasing pre-tempered isomalt will only need to be melted, and you won’t have to worry about precise temperatures.
How to Fix Isomalt Surface Bubbles
Tiny bubbles on the surface of isomalt pieces are a common issue with an easy solution. While bubbles typically form on the outside of a piece that is molded in silicone, surface bubbles may form on isomalt pieces using any style of molding.
To fix bubbles from your isomalt candy molds, you can simply use a torch on its lowest setting and put a small, light flame over the surface to melt away bubbles. Make sure to build up light heat slowly, and don’t blast your pieces with high heat.
However, when working with isomalt candy molds that have sharp lines or rivets, the torch method may not be your best option. Torching pieces like this will cause them to lose definition and strip your clean lines. Instead, you can use a small metal knife! Heat up a small metal knife with your torch (as hot as you can get it) and use the knife to smooth over the flat surfaces to maintain those sharp lines. This works especially well for gem shapes.
Neither of these methods may be appropriate for complex isomalt sugar sculptures, which is why there is a third very simple option… glaze! Glazing isomalt pieces will help give a reflective and shiny surface on isomalt pieces if the shapes are too complex to use the torch or knife method on.
Sealing Isomalt & Using Edible Glaze
As mentioned above, edible glaze will help remove the look of bubbles and cloudiness on your isomalt sugar art. But, it is still wise to glaze your pieces regardless of how they look coming out of their molds.
Isomalt has a hydroscopic quality that can make this medium cloud up quickly. While this is typically an issue in more humid climates, even in a naturally dry environment, Isomalt can still be affected by indoor air-conditioning or that random rainstorm passing through. Using edible glaze on the surface will seal your isomalt and protect it from moisture and humidity in the air.
So, even if you aren’t running into issues with bubbles or cloudy isomalt, it’s still in your best interest to seal it with an edible glaze. Sealed pieces will stay shiny for weeks, and possibly months!
*Pro tip – when storing isomalt, make sure to always use an airtight container and try to keep it as hermetically sealed as possible!
By following these tips, you'll be well on your way to mastering isomalt candy making techniques. Remember, practice makes perfect, so experiment and enjoy the process of creating beautiful and delicious confections. With a little patience and creativity, you'll be amazed at what you can achieve with this versatile ingredient.
Looking for more isomalt tips? Check out these other videos:
Introduction to Isomalt Casting
Different Molds to Use with Isomalt
Under the Sea Isomalt Cupcakes
How to Melt and Prepare Isomalt for Use (Keeping Bubbles Out)

Hygroscopic is the correct term